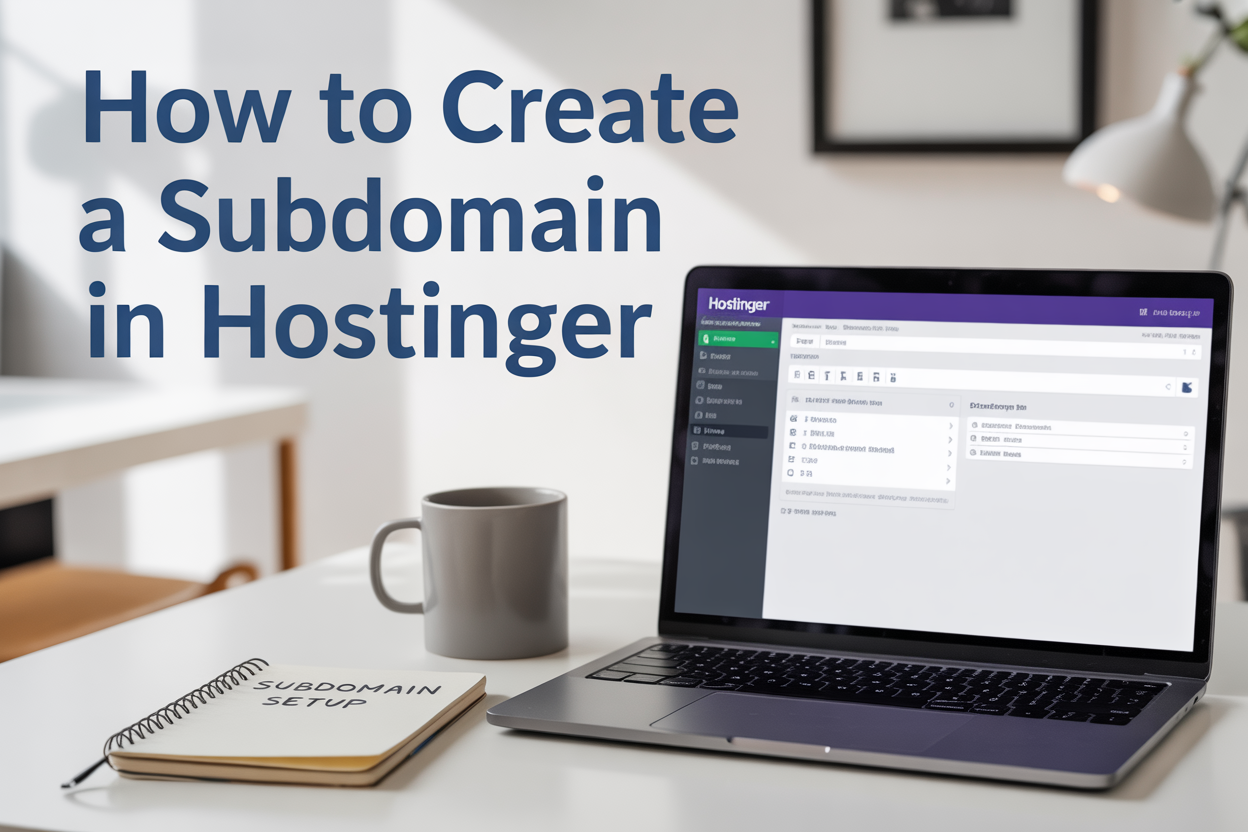
Creating a subdomain in Hostinger lets you organize different sections of your website under separate web addresses while keeping everything connected to your main domain. This guide is perfect for website owners, bloggers, and small business owners who want to set up dedicated areas for their blog, shop, or support pages without purchasing additional domains.
You’ll learn how to create a subdomain in Hostinger through their control panel, plus we’ll walk through the DNS configuration process to make sure your subdomain works properly. We’ll also cover best practices for managing your subdomains once they’re live, so you can keep everything running smoothly as your website grows.
Also, you need a hosting to host your website, therefore buy one of the best hostings using my link to get also 20% extra off
Table of Contents
Understanding Subdomains and Their Benefits
What subdomains are and how they function
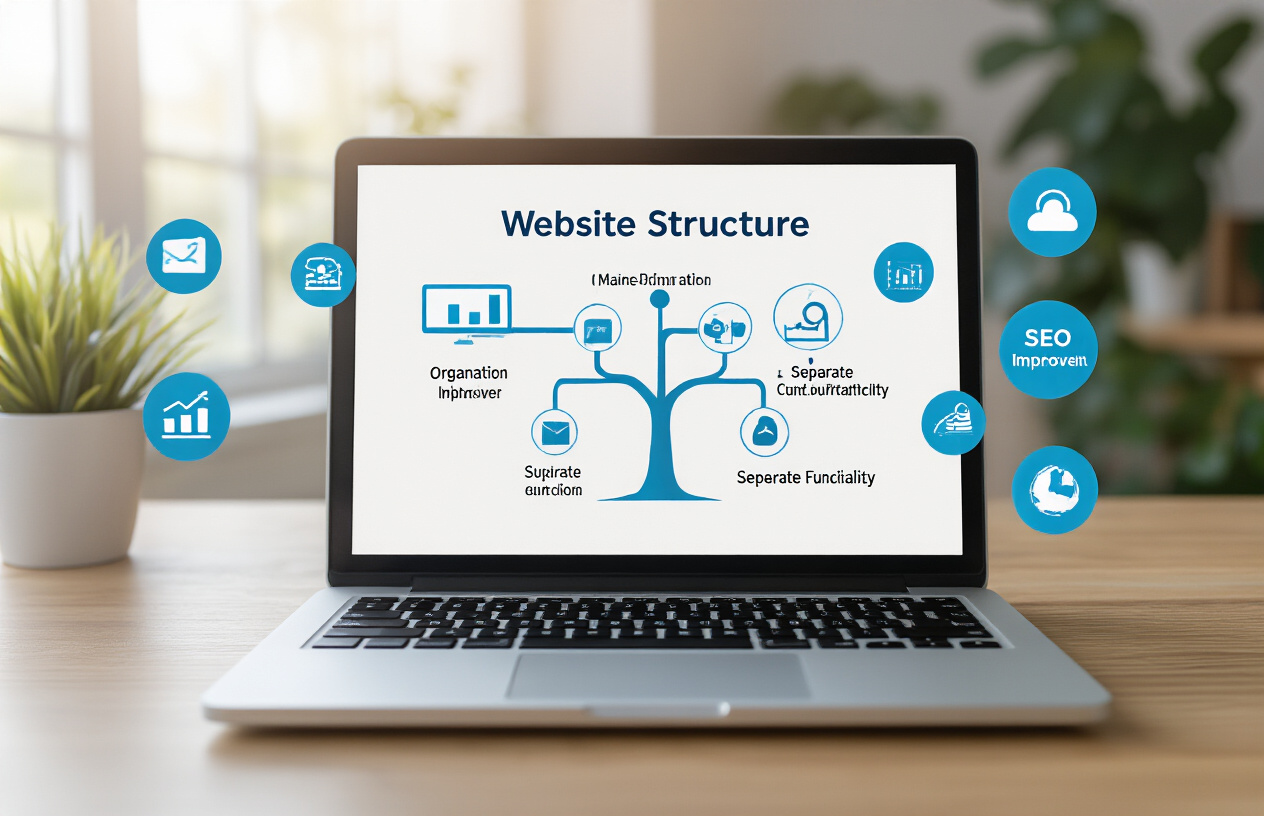
A subdomain works like a separate section of your main website that sits on a different URL. Think of your main domain as your house address, and subdomains as different rooms with their own entrances. For example, if your main site is “yoursite.com,” a subdomain might look like “blog.yoursite.com” or “shop.yoursite.com.” Each subdomain can host completely different content and even run on different servers while still being connected to your primary domain.
Key advantages of using subdomains for your website
Subdomains offer incredible flexibility for organizing your online presence. You can create dedicated spaces for different purposes without buying new domain names – saving money and keeping everything under your brand umbrella. Search engines treat subdomains as separate entities, which means you can target different keywords and audiences for each section. They also make navigation cleaner for visitors who know exactly where to find specific content types.
Common use cases for a subdomain in business
Businesses commonly use subdomains to separate their blog content (blog.company.com), online stores (shop.company.com), customer support portals (support.company.com), or mobile versions of their sites (m.company.com). Many companies also create subdomains for different geographical regions, like “uk.company.com” or “canada.company.com.” Educational institutions and large organizations often use subdomains for different departments or services, making it easier to manage permissions and customize each section’s design and functionality.
Guide Video
Prerequisites for Creating Subdomains in Hostinger

Active Hostinger hosting account requirements
Before you can create a subdomain in Hostinger, you need an active hosting plan with subdomain creation privileges. Most Hostinger plans, including shared hosting, cloud hosting, and VPS packages, support unlimited subdomains. However, basic plans might have restrictions, so check your specific package details in your account dashboard. If you don’t have hosting yet, you can buy Hostinger hosting using my referral link to get an extra 20% OFF, along with the Black Friday sale.
“Use my referral link to get 20% extra OFF + Black Friday discount on Hostinger hosting.”
Domain ownership verification process
Your primary domain must be fully registered and active within your Hostinger account. The domain should have completed its initial setup process and be pointing to Hostinger’s nameservers. If you recently transferred your domain or updated DNS settings, wait 24-48 hours for propagation before attempting subdomain creation.
Control panel access confirmation
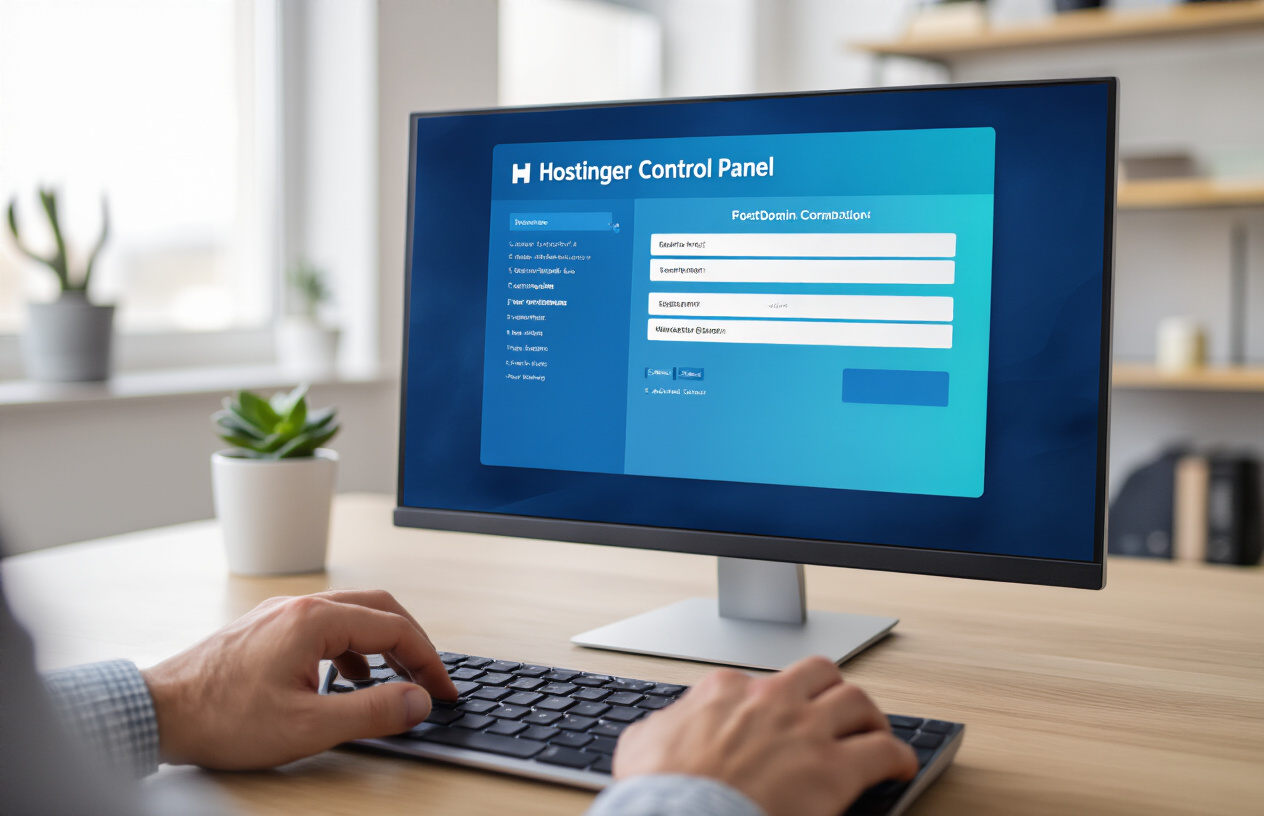
You’ll need access to hPanel, Hostinger’s custom control panel, with administrative privileges for your hosting account. Log in to your Hostinger account and verify you can navigate to the “Domains” section. Make sure your account credentials are current and that two-factor authentication (if enabled) is working properly for seamless subdomain management.
Step-by-Step Subdomains Creation Process
Accessing the Hostinger Control Panel
Log in to your Hostinger account through the main website and click on the “Manage” button next to your hosting plan. The hPanel control panel will load, displaying your website’s dashboard with various management tools and settings organized in clear sections.
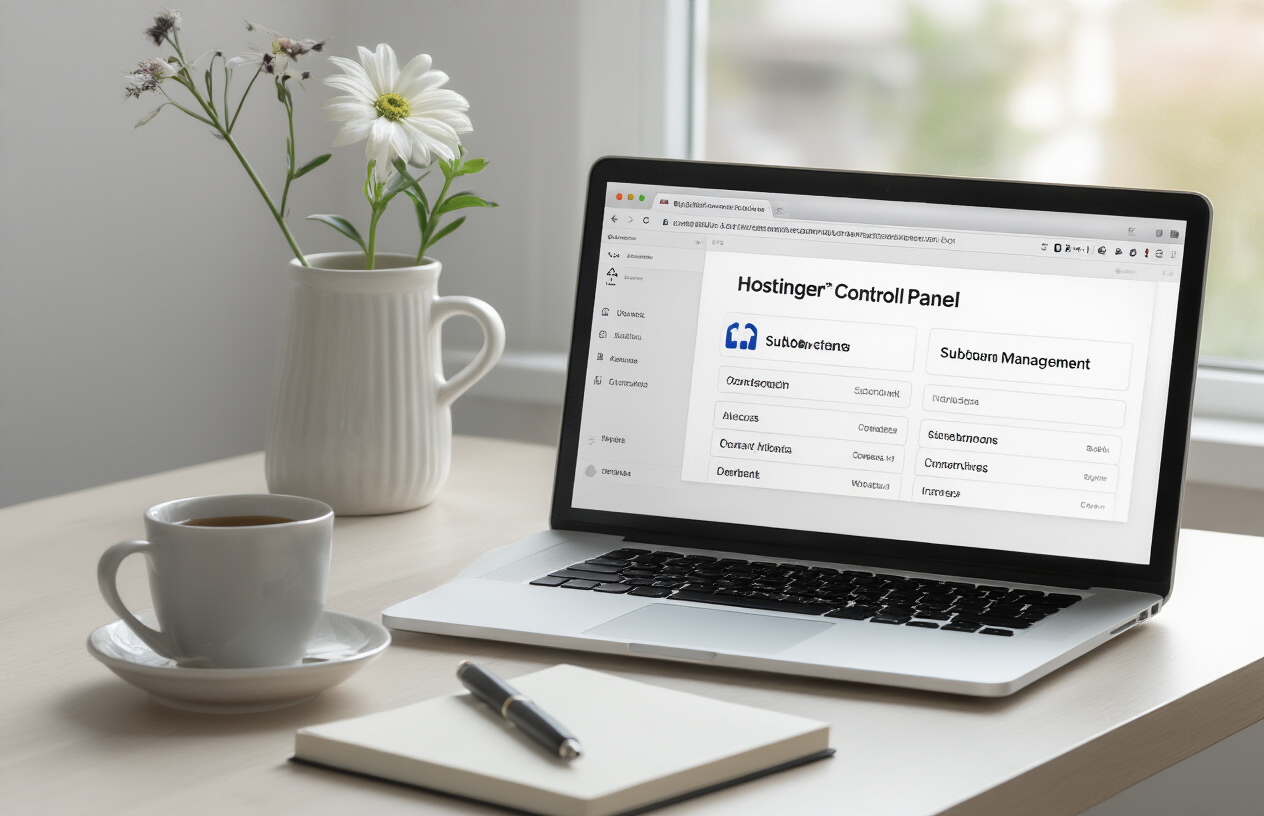
Navigating to the Subdomain Management Section
Look for the “Domains” section in your hPanel and click on “Subdomains.” This takes you directly to the subdomain management area, where you can view existing subdomains and create new ones. The interface shows a clean list of current subdomains with options to add, modify, or remove them.
Entering Subdomain Name and Configuration Details
Click the “Create Subdomain” button and enter your desired subdomain name in the text field. Choose which domain you want to attach it to if you have multiple domains, then configure any additional settings like redirect options or specific configurations for your new subdomain.
Selecting the Target Directory for Your Subdomain
Choose the folder where your subdomain files will be stored on your server. You can create a new directory or select an existing one from the dropdown menu. Hostinger automatically suggests a folder name matching your subdomain, but you can customize this path to match your site structure preferences.
Configuring DNS Settings for Your Subdomains
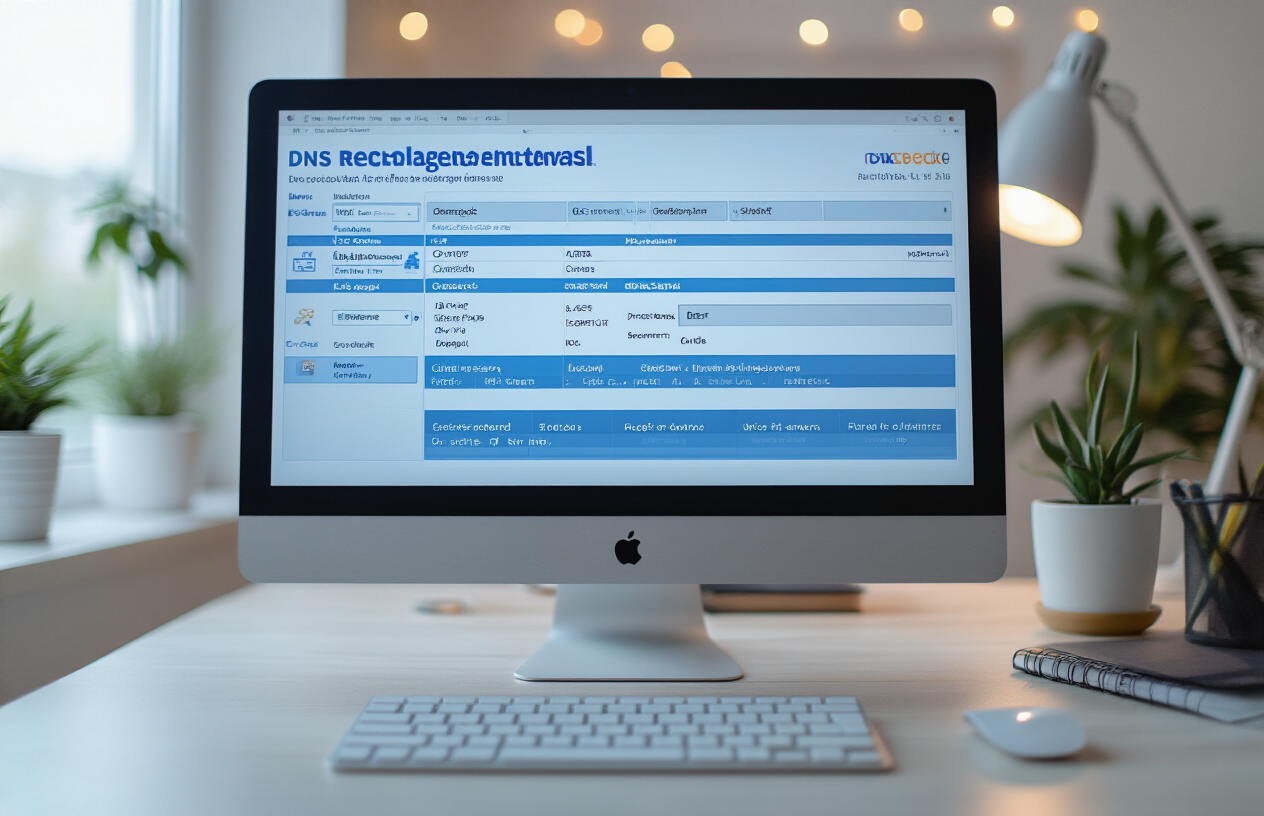
Understanding DNS propagation timeframes
DNS propagation typically takes 24 to 48 hours to complete worldwide, though most changes become visible within 2-6 hours. During this period, your subdomain might work for some visitors while appearing offline for others, depending on their location and the internet service provider’s DNS cache refresh schedule.
Verifying subdomain functionality after creation
Check your subdomain’s status by visiting it directly in a browser or using online DNS lookup tools like WhatsMyDNS or DNSChecker. These tools show real-time propagation status across different global locations, helping you confirm when your subdomain becomes fully accessible to all users worldwide.
Troubleshooting common DNS issues
| Issue | Solution |
|---|---|
| Subdomain shows “Server not found” | Wait for full DNS propagation (up to 48 hours) |
| Subdomain points to wrong content | Verify document root directory in Hostinger panel |
| SSL certificate errors | Enable SSL in Hostinger’s subdomain settings |
| Intermittent access problems | Clear browser cache and DNS cache |
Contact Hostinger support if issues persist beyond 48 hours, as server-side configuration problems may require technical assistance to resolve properly.
Managing and Optimizing Your Hostinger Subdomains

Installing applications on your new subdomain
Most hosting platforms, including Hostinger, offer one-click installers for popular applications like WordPress, Joomla, or Drupal. Access your hPanel control panel and navigate to the Auto Installer section to deploy your chosen application directly to your subdomain. This process typically takes just a few minutes and automatically configures the necessary database connections and file structures.
Setting up SSL certificates for enhanced security
SSL certificates protect data transmission between your subdomain and visitors’ browsers. Hostinger provides free SSL certificates through Let’s Encrypt, which you can activate from your hPanel dashboard. Simply locate the SSL section, select your subdomain, and enable the certificate – the process is automatic and ensures your subdomain displays the secure “https://” prefix. SSL can only be installed if you have a hosting plan. If you want to buy the best hosting plans, you can get 20% extra off using my referral link.
Monitoring subdomain performance and traffic
Track your subdomain’s performance using Google Analytics by creating separate tracking codes for each subdomain. Hostinger’s built-in analytics tools also provide insights into visitor behavior, loading speeds, and resource usage. Regular monitoring helps identify potential issues before they impact user experience and allows you to optimize content delivery.
Best practices for subdomain organization
Create clear naming conventions that reflect each subdomain’s purpose, such as “blog.yourdomain.com” or “shop.yourdomain.com”. Maintain consistent branding across all subdomains while ensuring each serves a distinct function. Avoid creating too many subdomains as this can confuse visitors and dilute your main domain’s SEO authority.
Deleting or modifying existing subdomains
Remove unwanted subdomains through your Hostinger control panel’s subdomain management section. Before deletion, back up any important files or databases associated with the subdomain. You can also modify existing subdomains by changing their target directories or redirecting them to different locations without creating entirely new subdomains.
Creating subdomains in Hostinger opens up a world of possibilities for organizing your website and improving user experience. By understanding what subdomains are and following the straightforward process outlined above, you can easily set up separate sections for your blog, store, or any other purpose. The DNS configuration might seem technical at first, but Hostinger’s user-friendly interface makes it manageable even for beginners.
Remember to keep your subdomain structure simple and logical – your visitors should instantly understand where they are on your site. Take advantage of Hostinger’s management tools to monitor your subdomains’ performance and make adjustments as needed. Start with one or two subdomains to get comfortable with the process, then expand as your website grows and your needs become more complex.
🔗 Affiliate Disclaimer
This blog contains affiliate links, which means I may earn a small commission if you purchase through them—at no extra cost to you. In fact, using my Hostinger referral link gives you an extra 20% OFF, and during Black Friday, you can save even more.
👉 Get Hostinger with an Extra 20% OFF:
I only recommend services I personally use and trust. Your support helps me continue creating free tutorials and guides. Thank you!
💼 Hire Me as Your WordPress Developer
If you need a professional WordPress website, an eCommerce store, or help with speed optimization, SEO, or website redesign, you can hire me directly.
✔ What I Can Do for You
- Complete WordPress website development
- WooCommerce store setup
- Blog or business website creation
- Bug fixing & security improvements
- Elementor / Divi / Block-based design
- Speed optimization & SEO setup
📞 Contact to Hire Me
If you want a reliable and affordable WordPress developer, feel free to reach out:
🌐 Portfolio / Website: My Portfolio
📩 WhatsApp: +92-3209901251
About Me
I am a professional WordPress developer with extensive experience in building fast, secure, and responsive websites for businesses, bloggers, and e-commerce owners. I specialize in custom WordPress development, WooCommerce setup, theme customization, speed optimization, and SEO-friendly website design. Whether you need a brand-new website or want to improve your existing one, I create user-friendly and visually appealing sites that help brands grow online. My goal is to deliver high-quality work, clean designs, and complete technical support so you can focus on your business while I handle everything related to your website